Acrylic is an elastic material that is widely used nowadays. From art installations to everyday items, it finds great use due to its strength and clarity. However, in some time and under the constant usage rate, the acrylic surfaces start losing their initial look, get scratched, and lose their luster. An Acrylic Polishing Kit is designed to counter this. It is a mix of components needed for restoring the brilliance of acrylic surfaces and bringing back their original appearance.
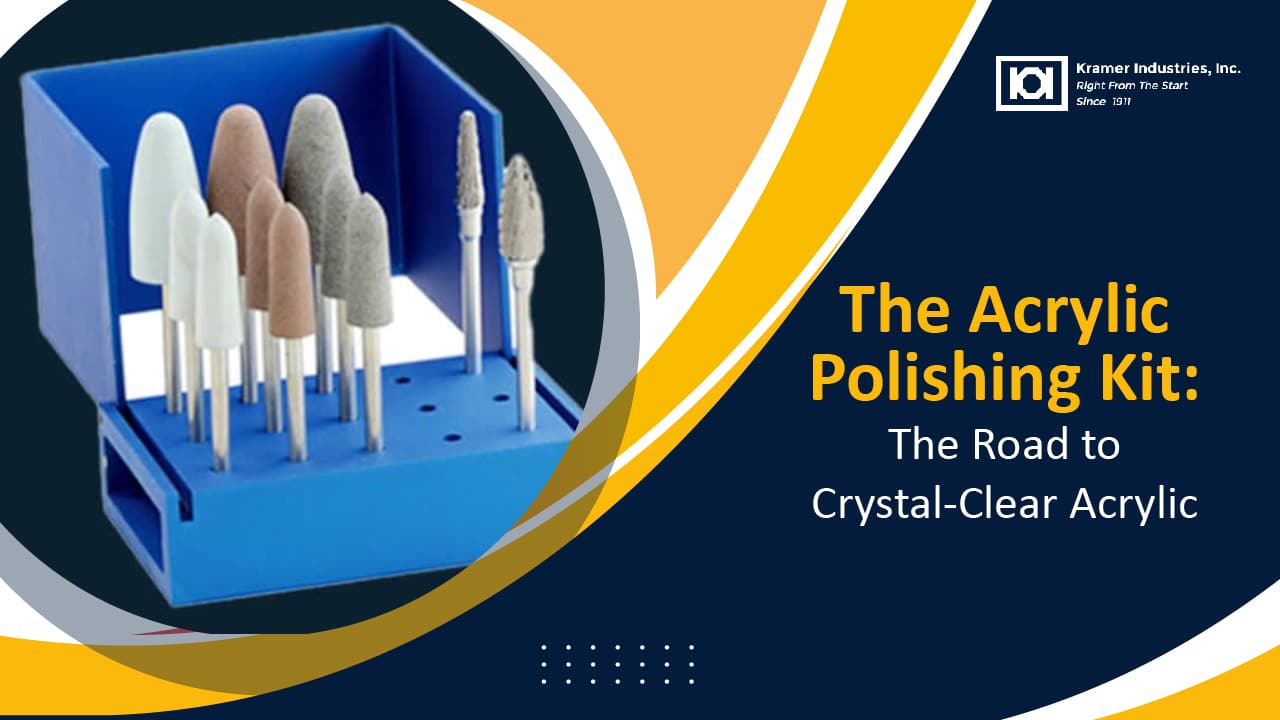
A regular acrylic polishing kit will have items like buffing pads, sanding pads in various grades, and a specific acrylic polishing compound. Some acrylic polishing kits may also be provided with microfiber cloths and cleaning solutions for the perfect result. Be it for casual enthusiasts, creative people, or serious professionals, these acrylic polishing kits are a must for renewing acrylic surfaces and preserving their quality.
For optimal outcomes, it is important to methodically approach acrylic polishing. Begin by using the included sandpapers to sand down major scratches or imperfections, progressing to higher grades for a smoother surface. After preparing the acrylic, apply the polishing compound onto a buffing pad and use gentle, circular motions to work it into the surface and eliminate small imperfections. Conclude by using a microfiber cloth to wipe the surface clean, unveiling a rejuvenated, perfectly clear acrylic piece.
Acrylic Polishing Kits: The Advantages
Restores Clarity: Buffing acrylic returns its clarity to its original state, just like a clear piece of glass.
Extends its Lifespan: In addition to the enhancement effect on looks, polishing actually extends the life of acrylic products since it saves them from wear and tear.
Cost-Effective: Instead of replacing scratched or worn acrylic, one should really polish it; the process is far more cost-effective for renewal and upkeep.
Diverse Application: Acrylic polishing can add to the visual presentation value of everything, from furniture to display cabinets to works of art.
Improves Presentation: Polished acrylic guarantees a flawless, professional finish for the products or displays of businesses and artists.
Drawbacks of Polishing Acrylic
Labor-Intensive: Polishing acrylic requires a lot of manual labor, particularly when facing extensive scratches or large areas.
Skilled Labor: It requires skill for perfect polishing, as unskilled artisans may further aggravate the scratches or make the surface uneven.
Temporary Solution: While polishing indeed restores translucency, it is not a permanent solution, and continuous maintenance must be performed to retain acrylic’s original clarity.
Material Sensitivity: Acrylic is vulnerable to certain kinds of chemicals and polishing agents; therefore, when the wrong products have been used, it may cause damage.
Overpolishing/Too Much Pressure: A risk occurs when over-polishing or using too much pressure. It could result in further damage, such as cloudiness or distortion of the acrylic surface.
Ways to Polish Acrylic

Hand Polishing: Hand Polishing: Apply the sequence of sanding pads, starting from rough grit to finer grades. Smear the acrylic polishing compound using a soft cloth or a buffing pad in a circular motion. End with a microfiber cloth that will remove extra polish, showing a silky surface.
Mechanical Polishing: Mechanical polishing is a process in which a surface is polished using machines. To tackle big or deeply scratched areas, a power buffer or polishing machine is suitable. Utilize the correct buffing pads along with the acrylic polishing compound in order to obtain a consistent finish. Make sure to apply constant but gentle pressure when handling the acrylic to prevent any potential damage.
Flame Polishing: Flame polishing involves running a small flame over the acrylic surface to smooth and clarify edges. This technique is best used for finishing edges and requires a great degree of skill, since too much heat warps or cracks it.
Vapor Polishing: The vapor polishing technique involves subjecting acrylic to a chemical vapor, which is usually a solvent such as methylene chloride, to create a surface that is more transparent and regular. This technique is effective for internal and external surface finishing that cannot be accessed using the more conventional methods of mechanical polishing. The vapor, as it comes into contact with the acrylic, sets in with a reaction on the surface of the acrylic, melting it slightly to go through some sort of reflow that covers minor scratches and imperfections. Once the vapor dissipates, the acrylic will harden once more to create that sleek and glassy appearance.
Tips for Acrylic Polishing
Test First: Test first by practicing your polishing method on a small, inconspicuous area until you get the desired result.
Apply the Correct Compound: Use an acrylic polishing compound that won’t damage it in any way.
Sand in Steps: First, use coarser grades of sandpaper, moving on to finer grades to smoothen out imperfections.
Light Pressures: Avoid scratching or overheating the acrylic surface while sanding or polishing with heavy pressures.
Clean Thoroughly: After polishing, use a microfiber cloth to take off excess polish or residue for a crystal-clear finish.
Protect Afterwards: Once polished, the acrylic should be placed in an environment that is clean and free from dust. Store it well in order to maintain its shine.
Let your acrylic surfaces remain clear, lustrous, and long-lasting with the above tips. They will maintain their aesthetics for years to come.
Conclusion
Acrylic polishing kits play an essential role in restoring the clarity, shine, and smoothness of acrylic surfaces. Whether your acrylic piece is part of décor, display systems, artwork, or everyday items, polishing helps revive its original luster while extending its lifespan. Though the process requires patience and some skill, the right tools—such as sanding pads, buffing pads, and acrylic-safe polishing compounds—ensure a flawless finish. By following proper techniques and maintenance tips, you can keep acrylic surfaces clear, scratch-free, and visually appealing for years.
If you’re looking for a high-quality acrylic polishing kit, Kramer Industries offers complete solutions for every need—from heavy scratch removal to final finishing compounds. Contact us today for expert guidance and products that deliver professional-grade results.
Frequently Asked Questions (FAQS)
1. What comes in a typical acrylic polishing kit?
A standard acrylic polishing kit includes sanding pads in different grits, buffing pads, an acrylic polishing compound, and sometimes microfiber cloths or cleaning solutions. These items work together to remove scratches and restore clarity.
2. Can I polish acrylic by hand, or do I need a machine?
You can polish acrylic by hand using sandpaper and a polishing compound, especially for small surfaces or light scratches. For larger areas or deeper damage, a mechanical buffer or polishing machine provides more consistent and faster results.
3. Is polishing acrylic a permanent fix for scratches?
Polishing restores clarity and removes scratches, but it is not a permanent solution. Over time, acrylic surfaces naturally accumulate new marks and may require periodic maintenance to stay clear and glossy.
4. What is the safest polishing method for beginners?
Hand polishing is the safest for beginners because it offers more control and reduces the risk of overheating or damaging the acrylic. Flame polishing and vapor polishing require experience and should only be performed by skilled users.
5. Can I get assistance from Kramer Industries in choosing the right polishing kit?
Definitely. Kramer Industries offers expert guidance to help you select the most suitable polishing kit based on your acrylic type, surface size, and the level of restoration required. You can contact the team directly for personalized recommendations.
Related Articles