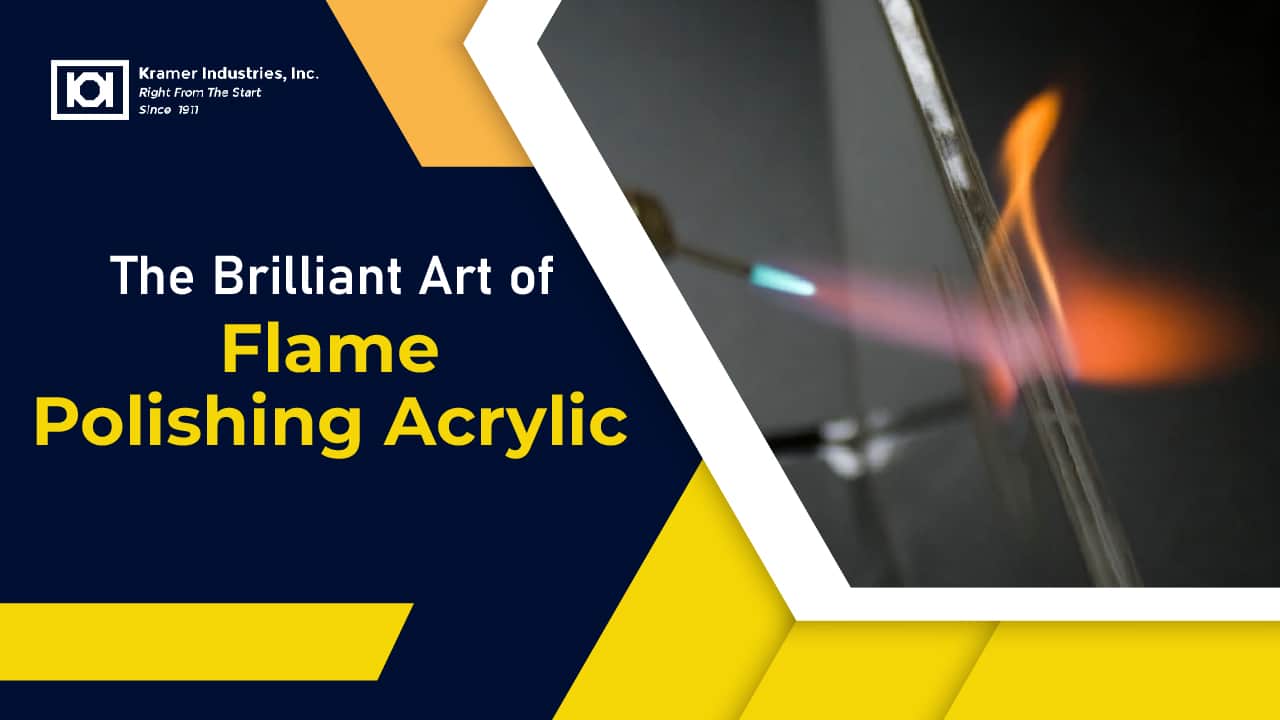
Flame Polishing Acrylic: Numerous methods have been developed in the fabrication and design fields to produce materials with faultless finishes. Flame polishing acrylic is a remarkable technique when it comes to acrylics. This method yields brilliant outcomes by fusing the artistry of crafting with the beauty of chemistry.
what is Flame Polishing Acrylic?
Simply described, it is a method for employing a controlled flame to polish the edges and surfaces of acrylic materials. The minute imperfections on the acrylic surface are efficiently melted as the flame comes into contact with them, leaving a smooth, glass-like finish.
It calls for accuracy and knowledge. The acrylic object is first cleaned, and any noticeable flaws are then sanded out. A beautiful blue flame is created using a hydrogen-oxygen torch. The acrylic edges or surfaces are then promptly and meticulously burned with this heat. The heat melts the acrylic for a brief period, smoothing up any microscopic imperfections. When done properly, the outcome is a surface that is highly polished and looks high-gloss.
But you must proceed with caution while doing this process. Given the open flame involved, safety precautions should always be in place to prevent overheating from causing bubbles or warping.
A polished finish may make a huge presentational impact in the world of design and construction. Simple acrylic pieces can be made into visually magnificent works of art by using the quick and effective flame polishing technique.
Flame Polishing Acrylic: Step-by-Step Guide for a Professional Finish
Flame polishing is like a magic trick that gives dull, hazy acrylic edges a lustrous, glass-like shine. If you’re crafting signs, setting up sleek displays, or just tinkering away at your DIY workshop, the secret lies in the details. And it needs some preparation. Follow these steps, but do so with a touch of care. Here’s your guide for changing dusty acrylic appearances to glossy ones.
- Preparation
Clean the Acrylic: With a clean cloth free of lint, give the acrylic a good wipe-down. If you find any clingy dust, dirt, or grease spots that are present on the surface, remove them.
Sand the Edges: Start with coarse sandpaper (220-grit should do the trick). Work your way up to the finer ones, say 600-grit or higher. The goal is to smooth out any nasty saw scars or router scratches.
Scrape the Surface: Use something sharp, like a Stanley knife blade, to scrape off any rough or protruding spots. Hold it perpendicular to the edge and draw it along so that it shaves away any unruly bumps. You will hear curls of acrylic fall away like snowflakes. This step helps to prepare the edge for flame polishing acrylic by removing significant surface imperfections.
Inspect the Edges: After scraping and sanding, check the edges for a consistent finish. The acrylic may appear “frosty” after this step, which is normal.
- Flame Polishing Acrylic
Use the Right Equipment: Ideally, use an oxy-propane, oxy-acetylene, or jeweler’s scale torch. These torches can provide the precise flame needed for acrylic.
Adjust the Flame: Set a tight, focused flame with a soft blue inner cone. The goal is to melt the acrylic, not burn it.
Apply the Flame: Pass the flame steadily along the edge of the acrylic at a constant speed, keeping the torch about 1 to 2 inches away from the surface. The flame should move quickly to prevent overheating or burning. The heat will locally melt the acrylic, and the melted surface will smooth out due to the material’s low viscosity and natural surface tension.
Multiple Passes (if Needed): If the initial pass doesn’t achieve a high-gloss finish, let the acrylic cool naturally and then make another pass.
- Cooling
Natural Cooling: Allow the acrylic to cool down slowly. Rapid cooling methods, such as using water or air blowers, can cause stress or cracking.
Check for Remaining Imperfections: Look for any dull spots or areas that may need additional flame polishing.
- Finishing Touches (Optional)
Hand Polishing: To give it a finer finish, use a plastic polishing compound and a microfiber cloth to slowly and gently polish the edges.
Inspect the Final Result: Check the final result for a smooth, glossy finish all around the piece. The flame-polished edge should look clear and glass-like.
Additional Considerations
Safety Precautions: Wear heat-resistant gloves and protective eyewear while operating with open flames.
Work Area Setup: Maintain good ventilation in your work zone and remove any flammable objects from the vicinity.
Practice on Scrap Pieces: If a person has not used flame polishing acrylic tools previously, he or she will need some practice on scrap pieces of acrylic. Practice is what separates a smooth, polished edge from a misshapen mess.
Thus, flame polishing acrylic, when mastered, takes your acrylic project from rough cut to stunning in just a few steps. There’s no shortcut to that perfect gleam—just precision, patience, and a touch of artistry.
For all of your acrylic polishing equipment and supplies, count on Kramer Industries for the best quality. Browse our website today to find abrasives, polishing compounds, and tools designed especially for your flame polishing acrylic needs!
Related Articles